Normally, we do absolutely nothing for Halloween. Strike that. We get zero trick-or-treaters, but we buy candy anyway. We buy pumpkins and don’t carve them.
This year, things are a “little” different. We have a kid. Which means all holidays are to be celebrated. This year for Halloween we thought we might dress up Oscar as a squirrel. My sister-in-law suggested it and I loved the idea. His chubby cheeks scream squirrel! I found a Pin of a DIY squirrel costume, however I lost steam on the project shortly after buying a sweater at a thrift shop. A week before Halloween I had no costume for the little dude. Worst mother ever. Lo and behold, in came in Auntie Lynne to save the whole darn holiday.
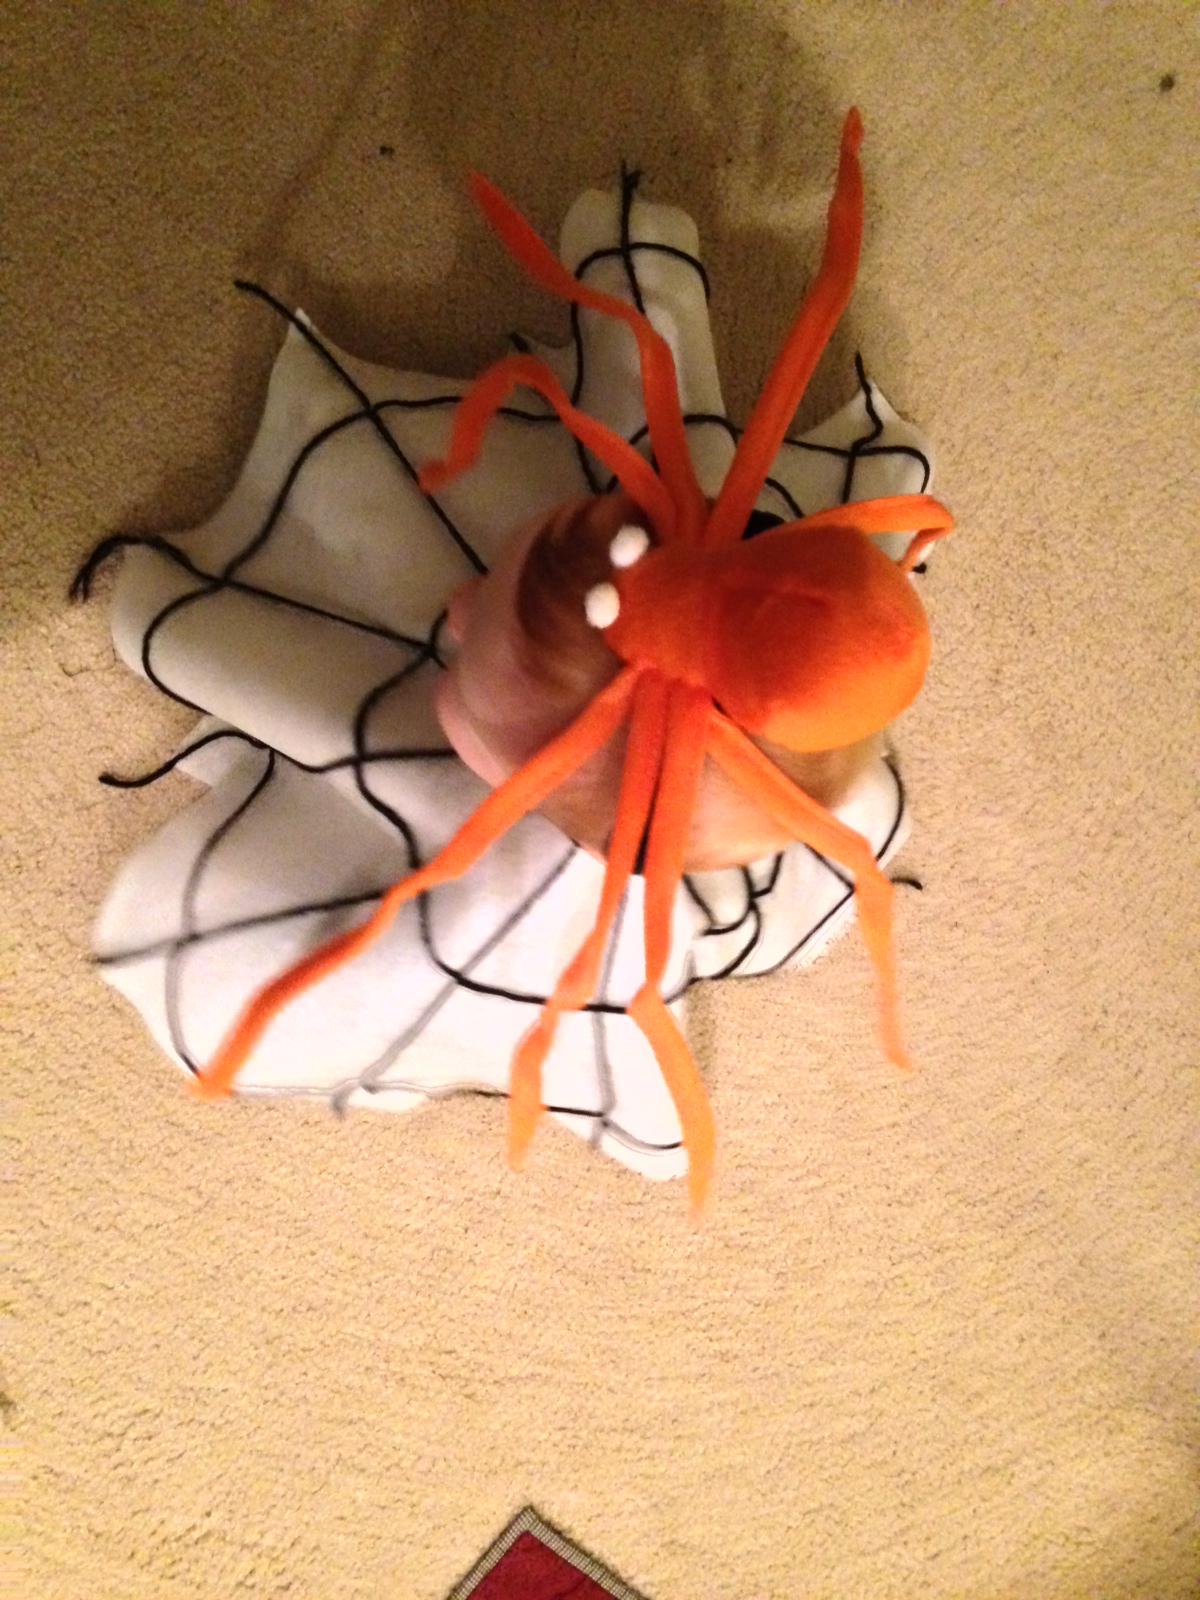
This little gem of a headband arrived in the mail! SO ADORABLE I COULD BARELY STAND IT!

My idea of how I would incorporate the spider headband morphed completely in about 2 days. It started with my idea of dressing Oscar in black and then wrapping or hot gluing spider webbing (the kind that you buy at Halloween stores) onto his onesie and pants. However, when I read the back of the bag and it said, “Do not use on babies or children” and that it had “13,000 filaments” I decided it would probably not be a good idea to use it on him. He does LOVE to put anything in his mouth these days, and the whole thousands of filaments notion had me envisioning him choking on the webbing. Eek!
My next idea was to paint spider webs onto his black sweatpants and onesie with fabric paint. Eh, too much work and I suck at drawing.
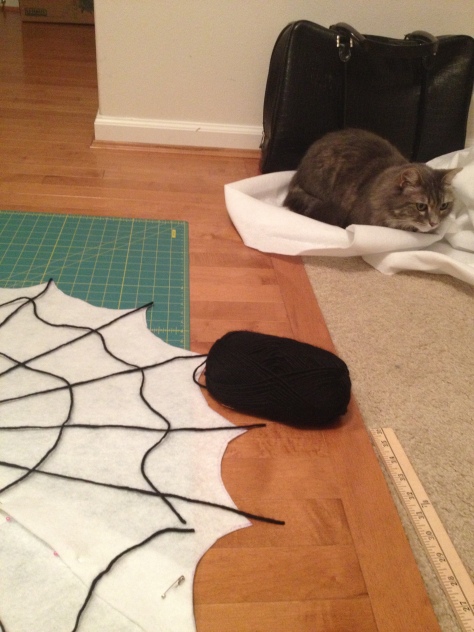
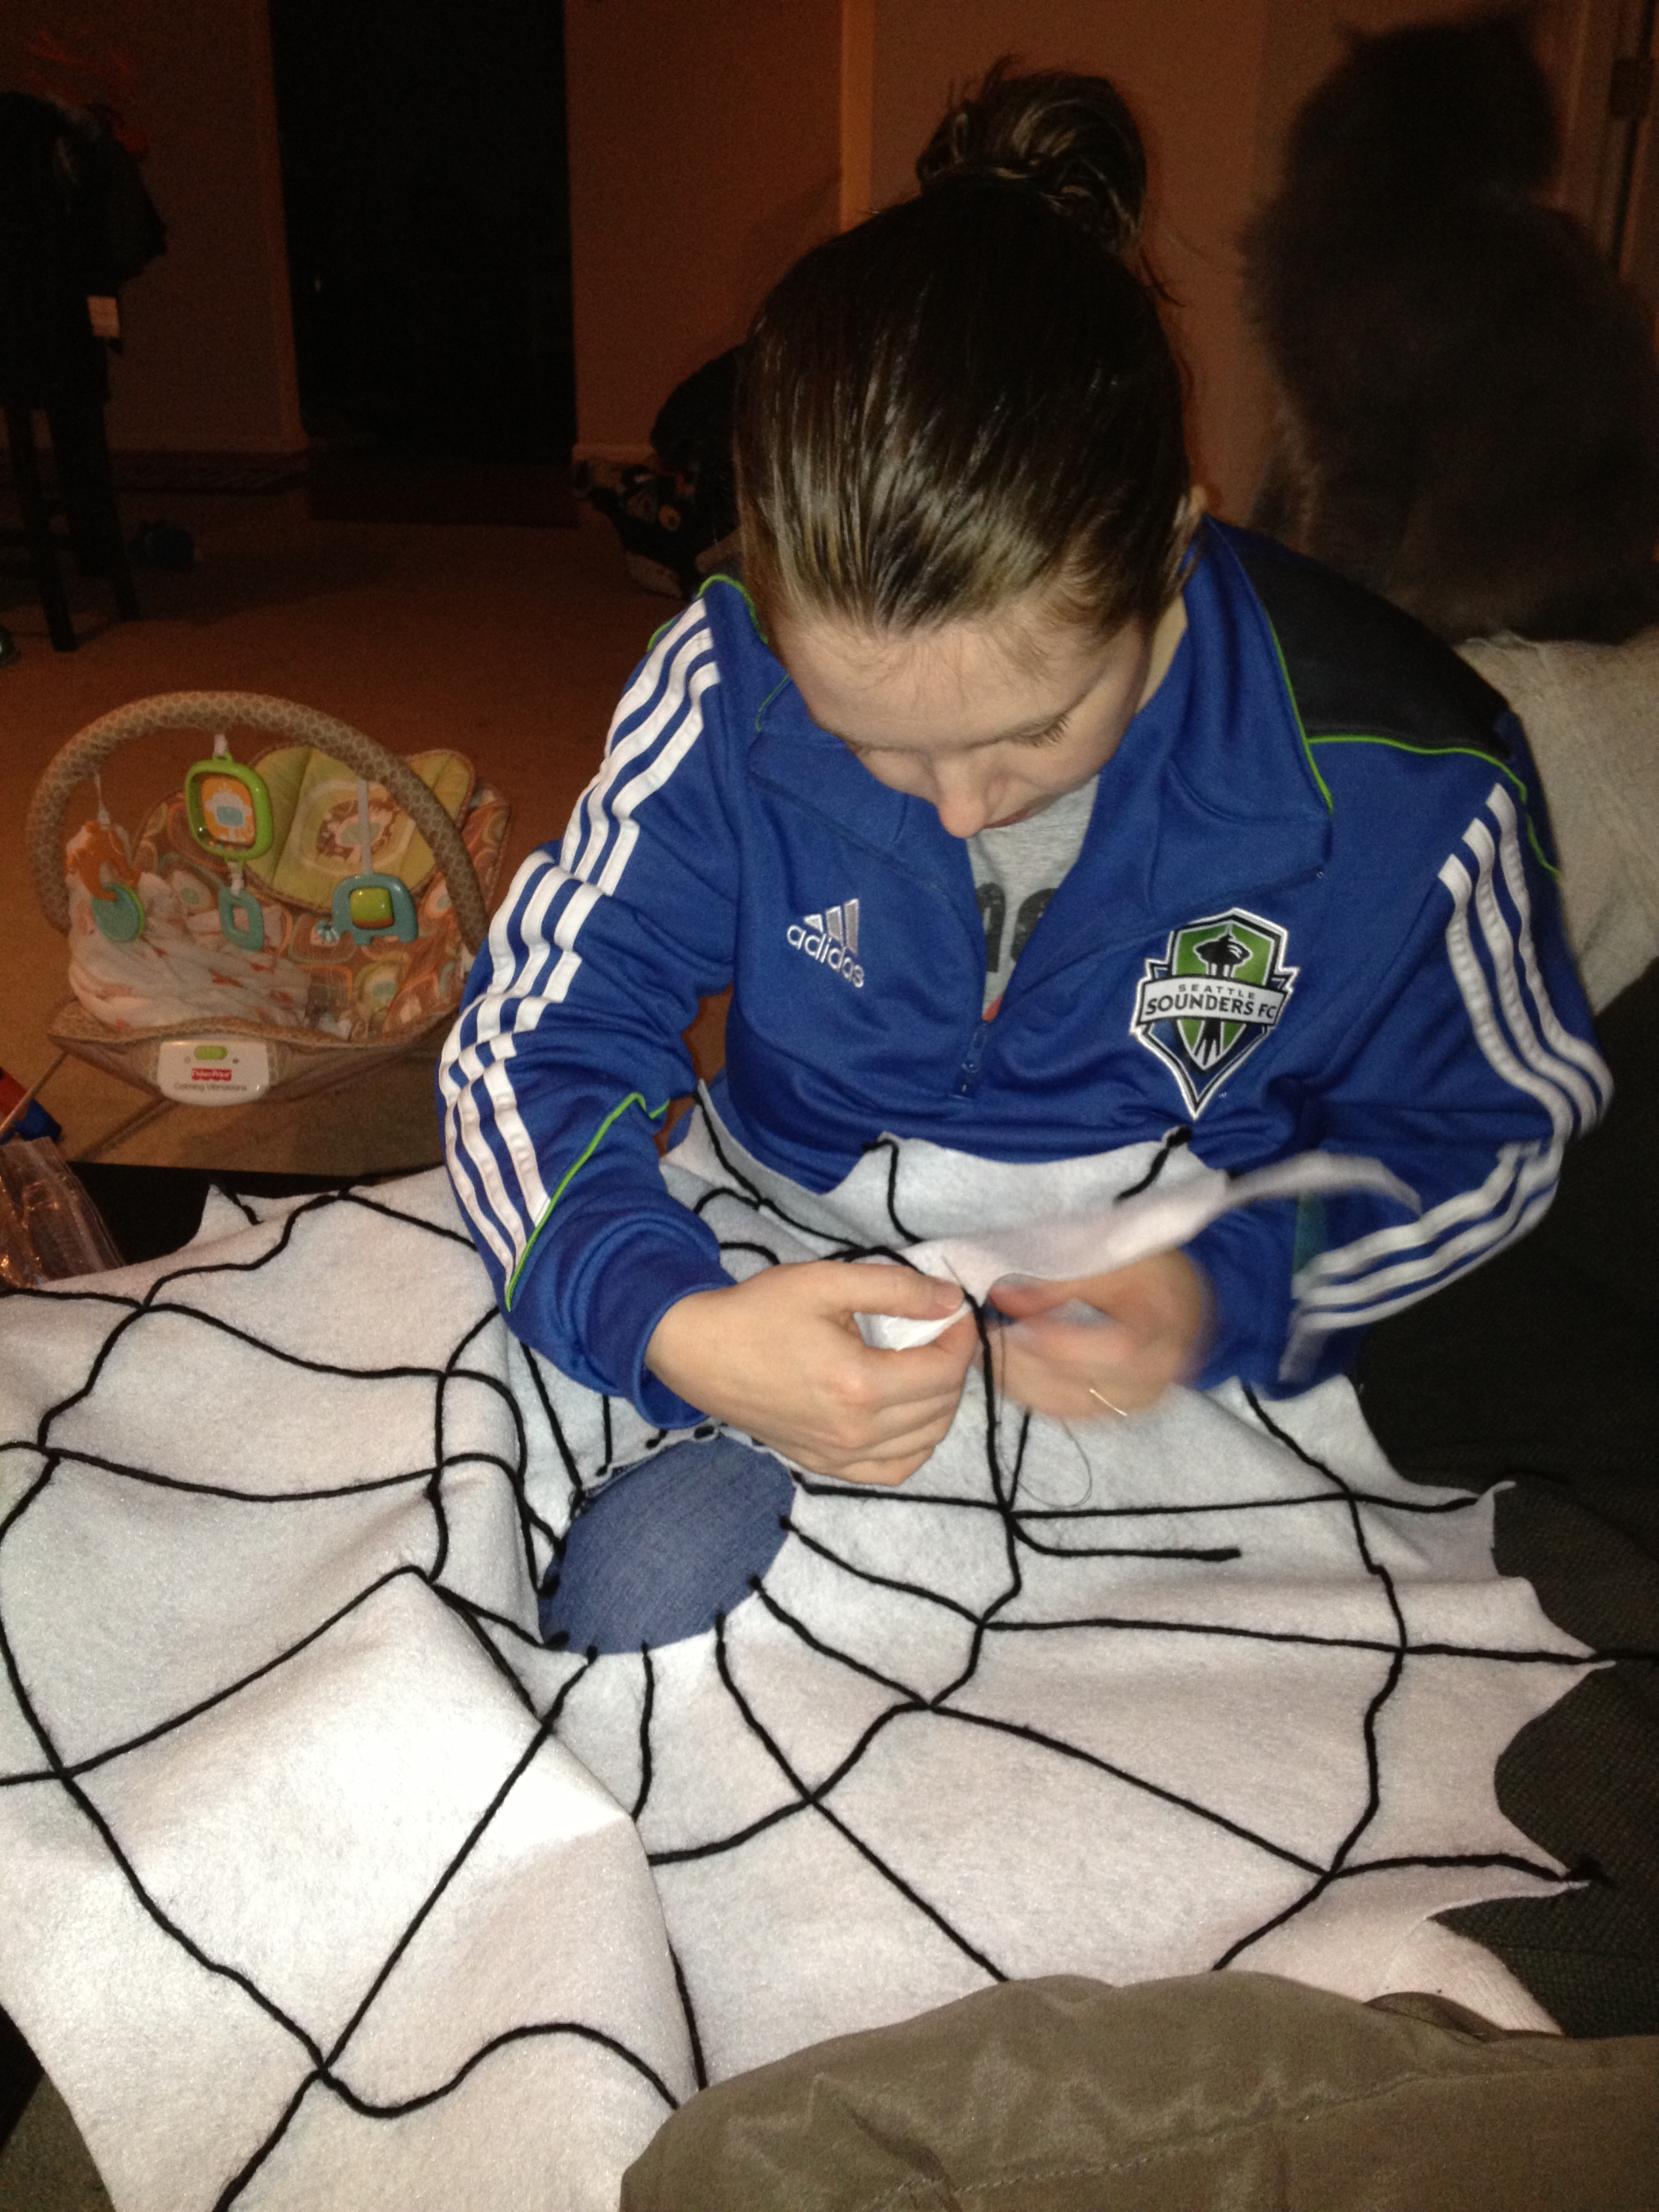
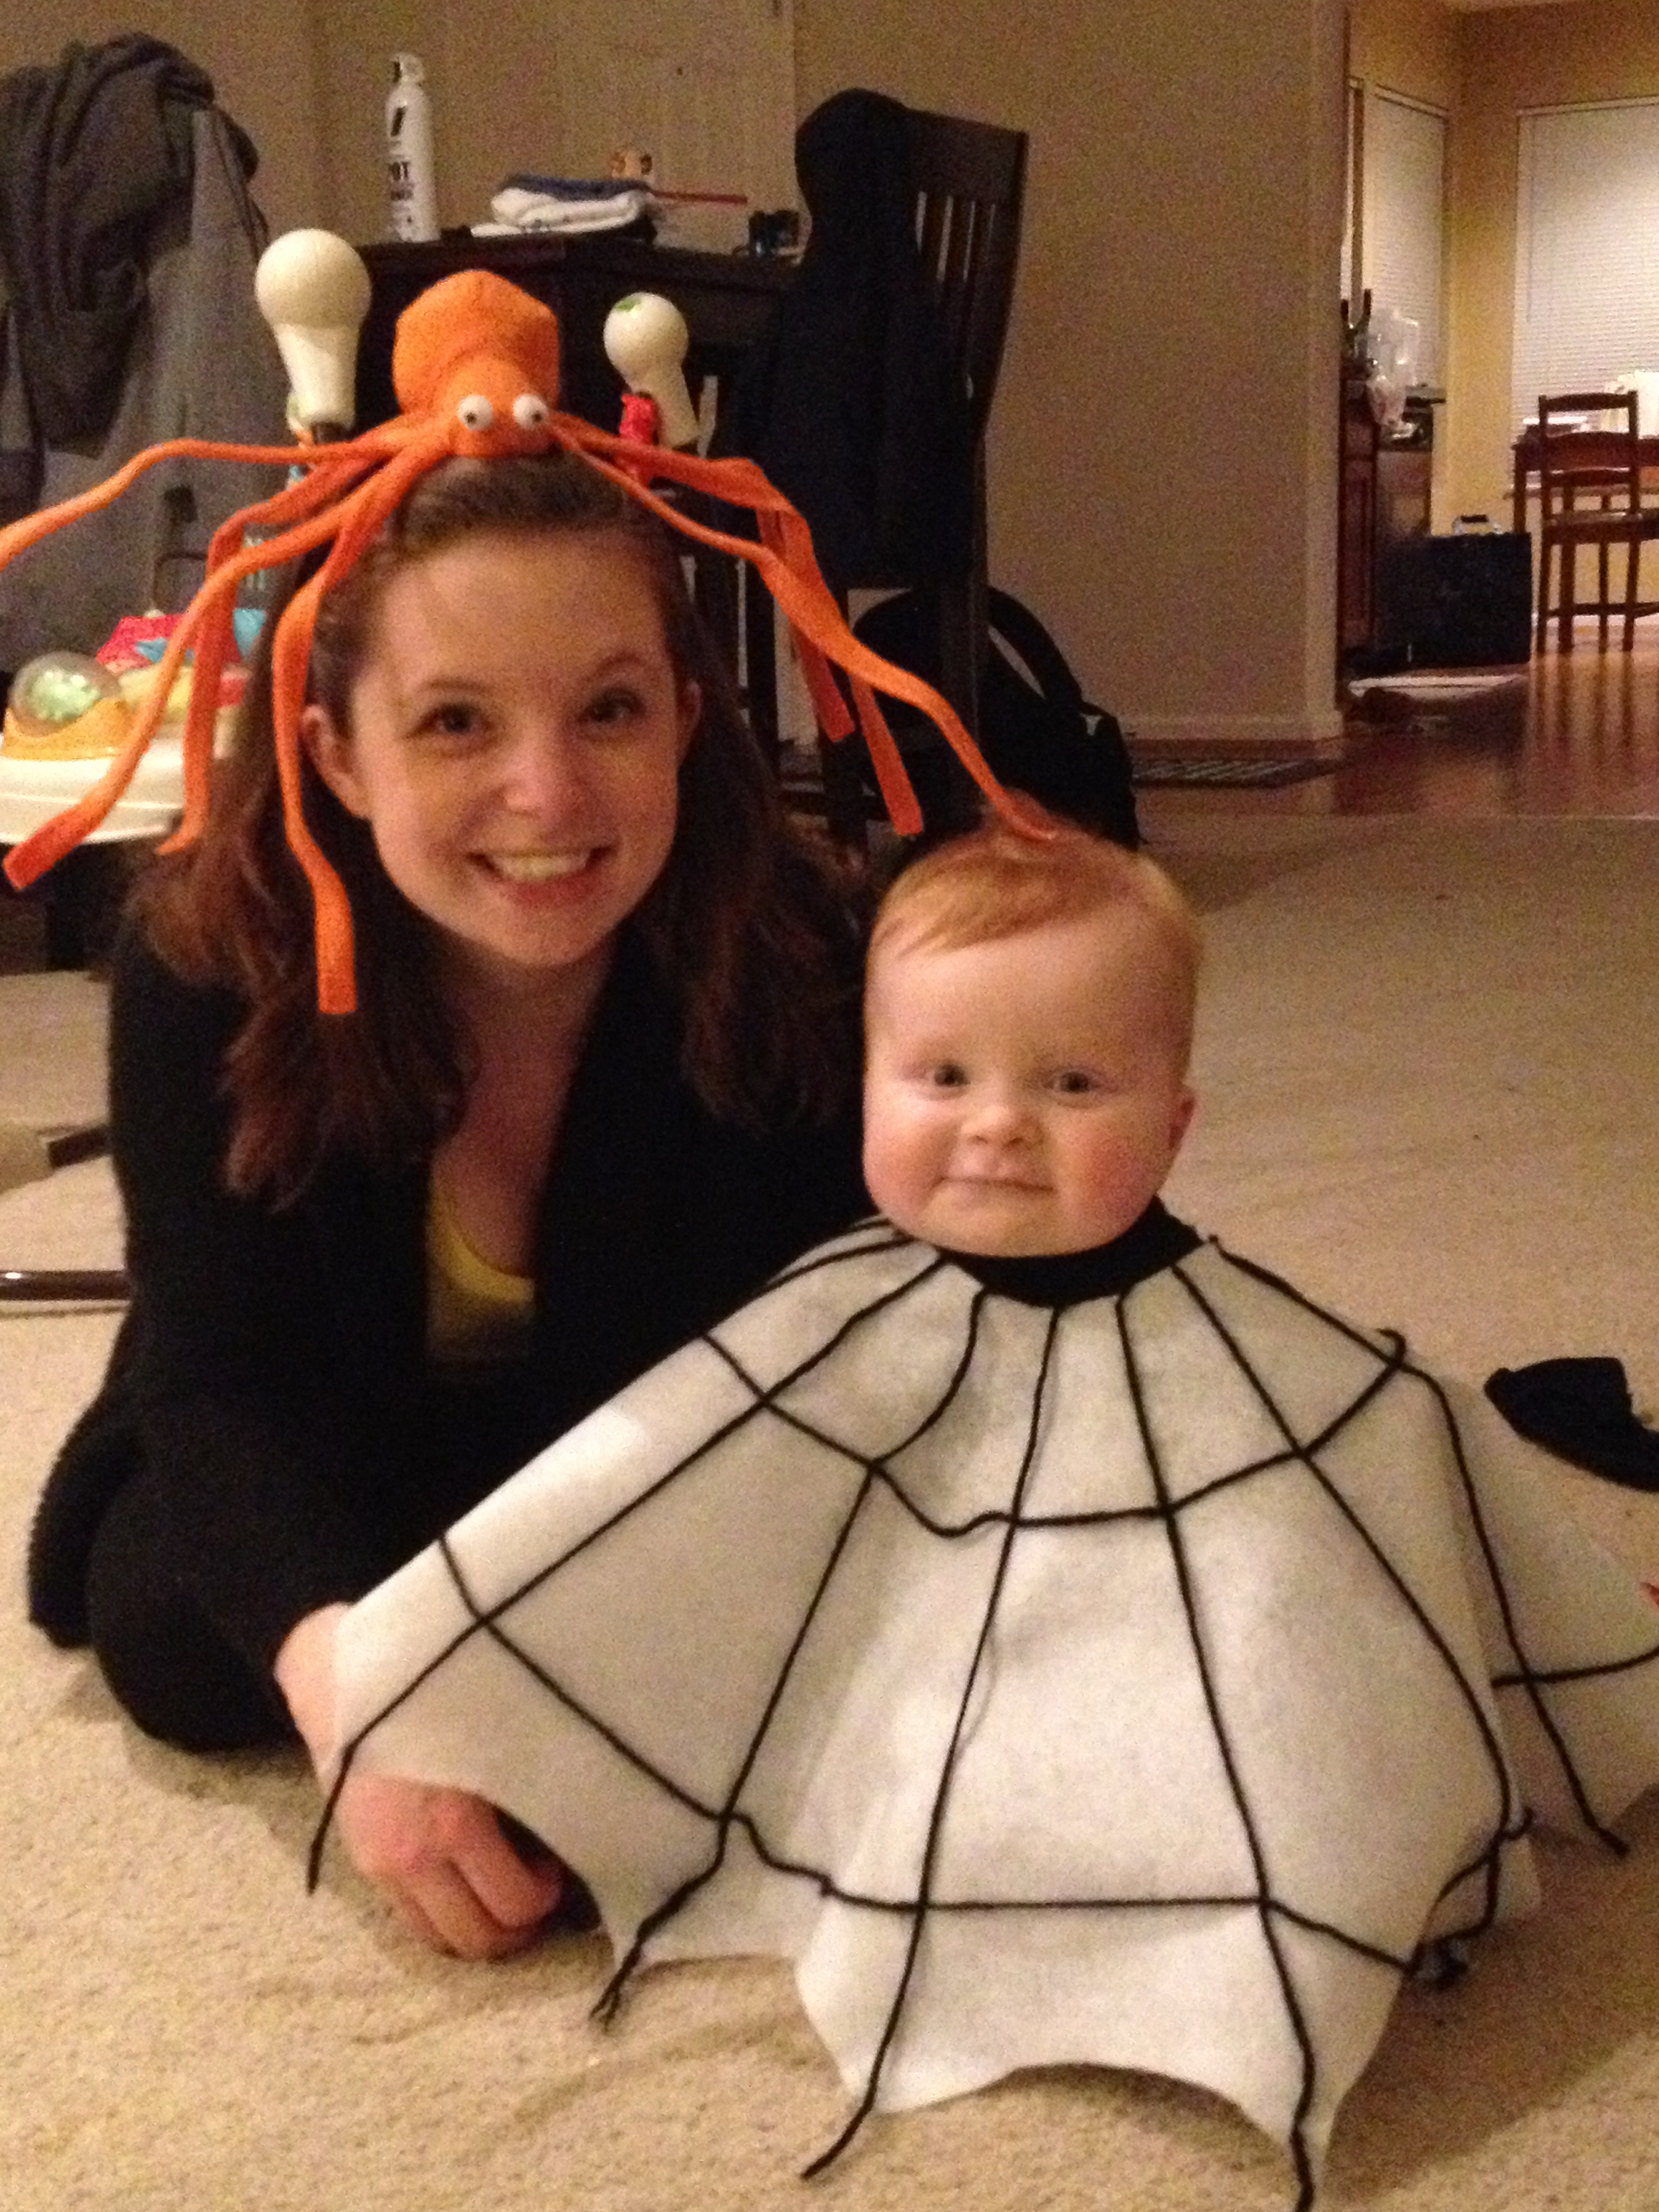
So, I researched baby cob web costumes and found this one on Etsy. Only problem: sold out and 3 days before Halloween. So what’s a mom to do? Get her husband to run to Joann’s on his way home and gather supplies. Thanks sweetie!!!!!!
Without further ado…. Oscar’s Itsy-Bitsy costume in pictures.