
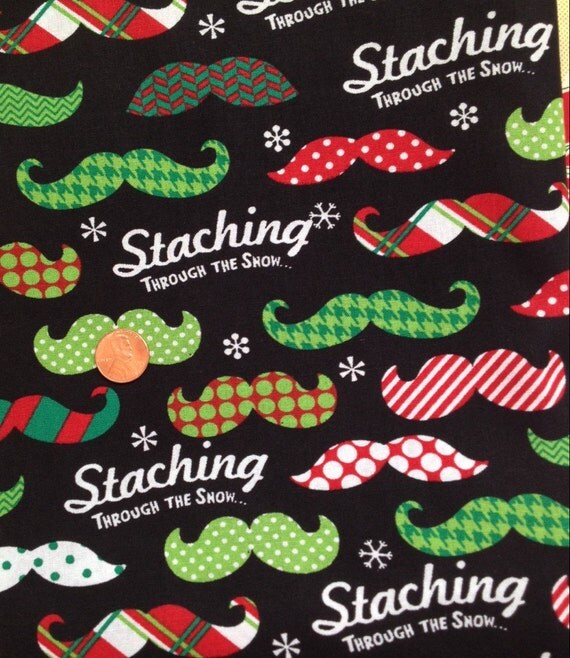
Growing up I always had a special stocking that was handmade by someone in my family and had my baby picture on it. It was way too small to actually put things in, but from what I can remember,my family weren’t always big stocking loaders-uppers. The last few years we’ve had your basic santa-coat-colored-stockings (white fur and red fake velvet) and Chris’ quilted stocking from childhood. His family is bigger on doing stockings and I’ve found it fun over the years. This year I wanted to try and make new stockings that would coordinate with my pom garland from Paper Source. Chris insisted he was going to use his from childhood still, even though we had it labeled with O’s name from previous years. #whatever He didn’t even appreciate the “mustaching through the snow” fabric I found at JoJo’s.
I had originally gone and purchased a load of christmas fabric and had two prints for every stocking. When I sat down to start the project I realized I didn’t have enough fabric for both sides. This happens to be quite often and is the bain of my sewing existence. So on the second trip to JoJo’s I got a little wild and went with completely different fabric. By this time I had already set up my mantle and done the Christmas tree skirt and was following my personal Christmas color palette for 2015. Remember it?

I surfed Pinterest for a while and came up with this lovely tutorial which whipped out 4 stockings in about an hour. It was so darn quick and easy. They have a contrasting or coordinating inner liner that folds over to become the cuff. I also found great chunky trim on the clearance rack at Joann’s which really gives these stockings some depth.

The tutorial I used was this one from Smashed Peas and Carrots blog. Check her out here @ smashedpeasandcarrots.com. To see the original stocking tutorial please visit this link. Aren’t the ones that she did gorgeous?

You basically make a template out of freezer paper for your stocking, cut out two of each for lining/cuff fabric and outer fabric, and then sew them together according to the tutorial. You will fold the top of the stocking over so that the inner lining creates a 5″ cuff. Prior to sewing the outer fabric together you will insert your trim about 5″ down from the top edge. Maggie does an excellent job explaining how to put these together.
Step One: for the outer fabric sew around all but top edge with right sides together, and then turn right side out. For the inner fabric place right sides together, attach trim facing inward and sew around all but top edge and three inches at the bottom of the stocking.

Step Two: stuff outer boot into inner boot, right sides facing together. Sew around the top edge, catching the inner layer and outer layer (not all four layers) like the hem of a pant. You’ll probably have to use the free arm part of your sewing machine.

Step Three: Pull the inner layer through the 3 inch opening in the inner fabric. It will then look like the second photo. Sew the three inch opening closed either by hand or with your machine.


Last step: Turn the cuff down so the trim is at the top. Hang and enjoy!

I love how big they are and the coordination I was able to bring together with them. I still have no idea who’s is who’s but that can surely be figured out by the man in the red suit right? 😉


You can see some of the mantel here, but next I’ll show you it all put together. The fireplace has been one of my favorite things in our new townhouse. We’ve definitely been cozying up to the fire, because “baby, it’s cold outside”.


Very cute! We don’t have stockings… because we don’t have a mantle… but as soon as I figure out a nifty place to hang them, I will have to try this!